之前写过一篇《debian 9 系统中安装新版的nginx(支持tsl1.3)》关于开启tsl1.3的先决条件:(1)nginx版本必须在1.13或者更新
(2)、Nginx需要使用OpenSSL 1.1.1以上的版本构建或与OpenSSL 1.1.1以上的版本一起运行。这段话没有错,因为自己也是刚接触这块也是小白一个,结果认为只要是系统Openssl版本在1.1.1以上,nginx版本在1.13以上就支持。结果实际情况是:我的系统用的Debian9 系统自带的opessl版本是1.1.1g也满足条件,nginx我是通过apt install安装的,版本是1.18.0我想着应该支持了。然后每次在浏览器中访问站点,查看的时候还是tsl1.2。过了好长一段时间我在用nginx -V 查看的时候才发现这个版本的nginx是基于OpenSSL1.1.0构建的,上网一查才发现Debian9 apt仓库里的nginx的OpenSSL版本比较低,原来问题在这。好吧那就自己重新编译安装一下。
一、编译安装前的准备工作
(1)、PCRE ——支持正则表达式 NGINX 核心和重写模块需要。
https://ftp.pcre.org/pub/pcre/pcre-8.44.tar.gz

tar -zxvf pcre-8.44.tar.gz

cd pcre-8.44

./configure --prefix=/路径

make && make install
(2)、zlib –支持标头压缩。NGINX Gzip模块需要。
wget http://z lib.net/zlib-1.2.11.tar.gz

tar -zxf zlib-1.2.11.tar.gz

cd zlib-1.2.11

./configure --prefix=/路径

make && make install
(3)、OpenSSL –支持HTTPS协议。NGINX SSL模块和其他模块需要。
$ wget http://www.openssl.org/source/openssl-1.1.1g.tar.gz

tar -zxf openssl-1.1.1g.tar.gz

cd openssl-1.1.1g

./Configure darwin64-x86_64 -cc --prefix = / usr

make && make install
编译安装nginx
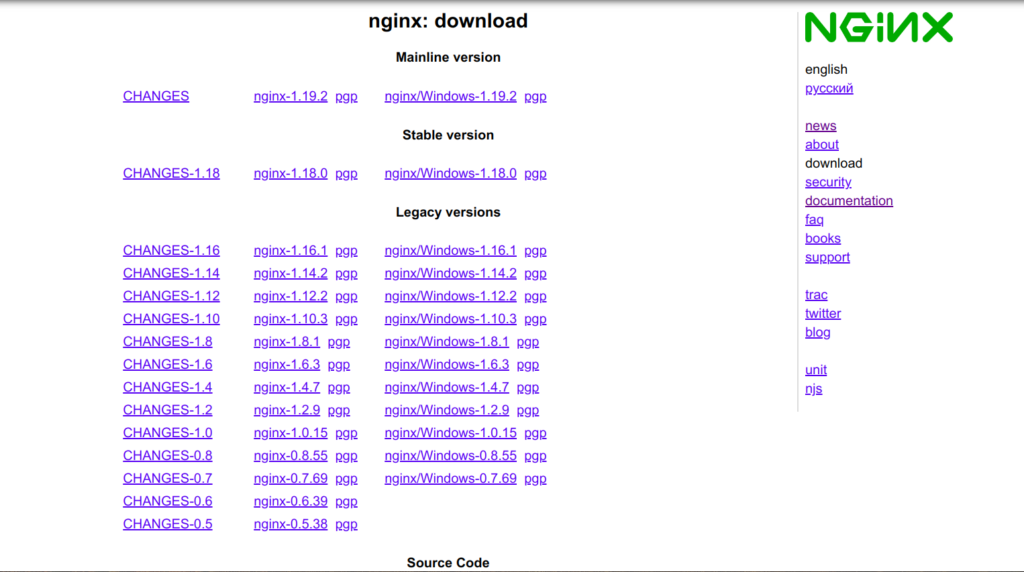
下载地址:http://nginx.org/en/download.html

说明一下,我这里参考的河马的配置《Debian 9/10 编译安装nginx》原文地址:https://www.iamhippo.com/2019-12/1196.html
./configure --prefix=/etc/nginx --sbin-path=/usr/sbin/nginx --modules-path=/usr/lib/nginx/modules --conf-path=/etc/nginx/nginx.conf --error-log-path=/var/log/nginx/error.log --http-log-path=/var/log/nginx/access.log --pid-path=/var/run/nginx.pid --lock-path=/var/run/nginx.lock --http-client-body-temp-path=/var/cache/nginx/client_temp --http-proxy-temp-path=/var/cache/nginx/proxy_temp --http-fastcgi-temp-path=/var/cache/nginx/fastcgi_temp --http-uwsgi-temp-path=/var/cache/nginx/uwsgi_temp --http-scgi-temp-path=/var/cache/nginx/scgi_temp --user=nginx --group=nginx --with-compat --with-file-aio --with-threads --with-http_addition_module --with-http_auth_request_module --with-http_dav_module --with-http_flv_module --with-http_gunzip_module --with-http_gzip_static_module --with-http_mp4_module --with-http_random_index_module --with-http_realip_module --with-http_secure_link_module --with-http_slice_module --with-http_ssl_module --with-http_stub_status_module --with-http_sub_module --with-http_v2_module --with-mail --with-mail_ssl_module --with-stream --with-stream_realip_module --with-stream_ssl_module --with-stream_ssl_preread_module --with-pcre=../pcre-8.44 --with-pcre-jit --with-zlib=../zlib-1.2.11 --with-openssl=../openssl-1.1.1g --with-openssl-opt=no-nextprotoneg --with-debug

make && make install
ln -s /usr/lib/nginx/modules /etc/nginx/modules

mkdir /var/cache/nginx -p
创建systemd 模式的nginx service
vi /lib/systemd/system/nginx.service
添加下面的配置
[Unit]
Description=nginx – high performance web server
Documentation=http://nginx.org/en/docs/
After=network-online.target remote-fs.target nss-lookup.target
Wants=network-online.target
[Service]
Type=forking
PIDFile=/var/run/nginx.pid
ExecStartPre=/usr/sbin/nginx -t -c /etc/nginx/nginx.conf
ExecStart=/usr/sbin/nginx -c /etc/nginx/nginx.conf
ExecReload=/bin/kill -s HUP $MAINPID
ExecStop=/bin/kill -s TERM $MAINPID
[Install]
WantedBy=multi-user.target
让nginx.service生效:
systemctl daemon-reload
我们就可以用systemctl命令执行开机启动了
三、遇到的问题
问题一、查看状态有错误信息
虽然使用nginx服务启动了 通过systemctl status nginx.service查看状态的时候发现里面有一条报错信息如下:
nginx.service: Failed to read PID from file /run/nginx.pid: Invalid argument
解决方法:以root账户执行以下代码
mkdir /etc/systemd/system/nginx.service.d

printf "[Service]\nExecStartPost=/bin/sleep 0.1\n" > /etc/systemd/system/nginx.service.d/override.conf

systemctl daemon-reload

systemctl restart nginx
问题二、证书
是使用python-certbot-nginx插件自动更新的,因为要重新编译安装nginx 所以在编译之前我就把nginx给卸载了,结果卸的时候自动把python-certbot-nginx也卸载了,但是重新安装的话他又让我安装nginx,后来找了半天资料发现可以使用certbot certonly这个命令来解决,具体操作如下:
certbot certonly --manual -d mydomain.com
Saving debug log to /var/log/letsencrypt/letsencrypt.log
Plugins selected: Authenticator manual, Installer None
Cert not yet due for renewal
You have an existing certificate that has exactly the same domains or certificate name you requested and isn’t close to expiry.
(ref: /etc/letsencrypt/renewal/mydomain.com.conf)
What would you like to do?
– – – – – – – – – – – – – – – – – – – – – – – – – – – – – – – – – – – – – – – –
1: Keep the existing certificate for now
2: Renew & replace the cert (limit ~5 per 7 days)
– – – – – – – – – – – – – – – – – – – – – – – – – – – – – – – – – – – – – – – –
Select the appropriate number [1-2] then [enter] (press ‘c’ to cancel): 2(这里了我选择的是第2个)
Renewing an existing certificate
Performing the following challenges:
http-01 challenge for mydomain.com
– – – – – – – – – – – – – – – – – – – – – – – – – – – – – – – – – – – – – – – –
NOTE: The IP of this machine will be publicly logged as having requested this
certificate. If you’re running certbot in manual mode on a machine that is not
your server, please ensure you’re okay with that.
Are you OK with your IP being logged?
– – – – – – – – – – – – – – – – – – – – – – – – – – – – – – – – – – – – – – – –
(Y)es/(N)o: y (这里选择Y)
– – – – – – – – – – – – – – – – – – – – – – – – – – – – – – – – – – – – – – – –
Create a file containing just this data:(这里创建一个文件,文件的内容是下面这一长串)
xxxxxxxxxxxxxxxxxxxxxxxxxxxxxxxxxxxxxxxxxxxxxxxxxxxxxxxxxxxxxxxx
And make it available on your web server at this URL:
http://mydomain.com/.well-known/acme-challenge/ssssssssssssssssssssssssssssssss
– – – – – – – – – – – – – – – – – – – – – – – – – – – – – – – – – – – – – – – –
这块意思是在mydomain.com网站的根目录下创建2个文件夹 .well-known/acme-challenge 然后在这个路径下创建文件名为ssssssssssssssssssssssssssssssss文件,文件的内容写xxxxxxxxxxxxxxxxxxxxxxxxxxxxxxxxxxxxxxxxxxxxxxxxxxxxxxxxxxxxxxxx
这些工作做完后,按回车键继续
Press Enter to Continue
Waiting for verification…
Cleaning up challenges
出现Congratulations! Your certificate and chain have been saved at ****说明配置成功了
IMPORTANT NOTES:
– Congratulations! Your certificate and chain have been saved at:
/etc/letsencrypt/live/mydomain.com/fullchain.pem
Your key file has been saved at:
/etc/letsencrypt/live/mydomain.com/privkey.pem
Your cert will expire on 2020-12-14. To obtain a new or tweaked
version of this certificate in the future, simply run certbot
again. To non-interactively renew *all* of your certificates, run
“certbot renew”
– If you like Certbot, please consider supporting our work by:
Donating to ISRG / Let’s Encrypt: https://letsencrypt.org/donate
Donating to EFF: https://eff.org/donate-le
刚才在网站根目录创建的文件不要删除,下次证书到期后在运行一下刚才的命令就可以了